How to Prime Your Vape Coils | Vaping Basics
5 min read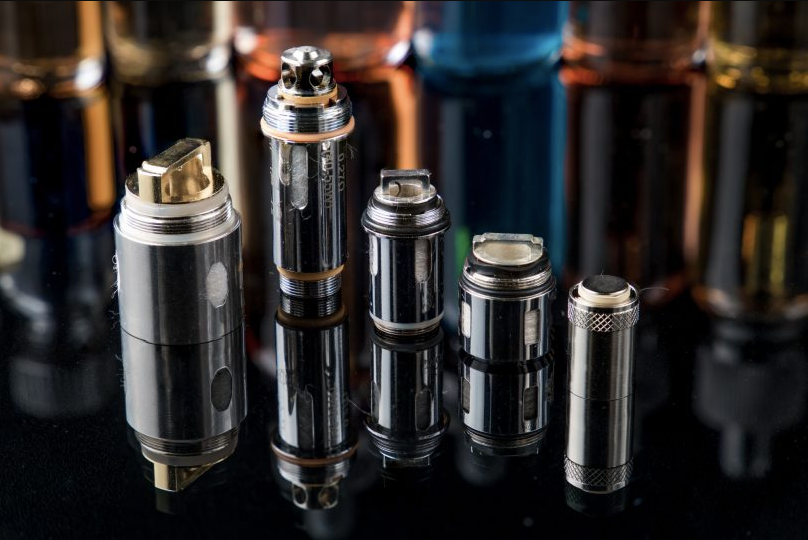
The coil present in your vape is the heating element in your vape device. Priming your vape coil ensures that enough e-liquid is soaked into the dripper coil.
The care and time that is involved in priming the coil usually depend on the resistance of the coil itself. Which is measured in ohms (Ω). This is so as to lower the resistance of the coil, the more cotton/wicking it will have. More wicking material means there will be an increased risk of more dry spots. On the cotton that may result in that undesired after-burning taste.
This is one of the many reasons why high resistance coils are able to last comparatively longer than low resistance coils.
Why Should You Prime Your Vape Coils?
Priming your coils is crucial, in terms of performance as well as the lifespan of your coil. A rough, dry hit is a very unpleasant experience, accompanied by a burning sensation. And an unpleasant taste because the wick material is singed and your e-liquid gets “overcooked.”
A coil that has not been primed timely will not be able to perform effectively and efficiently as compared to one that has been primed (especially when it comes to flavor). However, the most prominent issue is that firing your vaping device. When the wick is still dry increases the risk of burning the cotton as well.
How to Prime Your Vape Coils?
Thankfully, priming your coil is an easy job, and you will be able to do it without instructions once you have perfected it.
The first and foremost thing you need to ensure is to keep the cotton wick completely soaked in e-liquid before you start vaping, in order to prevent any disasters.
However, there are several specific steps you must follow in order to make sure you get your coils perfectly primed, every time:
Step 1: Wet the Cotton Through the Top of the Atomizer Head
Every atomizer head has an opening at the top. With a brand new coil, you will be able to see the coil in the center if you look down into it from the top. You will also be able to use the white cotton wrapped around the inside of the chamber as well.
Take the e-liquid you’re going to be using, and then manually soak this cotton from the top. This will be easier to do if you have the atomizer head separate from the other components of the tank, but you can still do it with the head screwed into the base of the tank if you find it easier
Generally, you want to thoroughly wet the wick without pouring so much that the e-juice pools up inside the atomizer head. Therefore, you should use the dripper spout of your bottle or the glass dropper top. To direct the e-juice directly to your wick.
We recommend you add the e-juice bit by bit so you don’t go too far or pool up inside the atomizer head. Continue this until you see that all the wick you can see is soaked in e-juice. You can shake any excess out onto a paper towel if you see any e-juice pooled up in the chamber.
In case you have a pooled chamber, you will end up with a gurgling noise when you vape. And even some e-juice getting sucked up into your mouth through the mouthpiece as well.
Step 2: Wet the Cotton Visible Through the Wicking Ports
You will notice that atomizer heads have little “windows” or “wicking ports” around the outside in order to draw e-liquid in from your tank. The next stage of the priming process is to add the e-liquid directly to these from the outside. This is convenient to do so: you just need to drip some e-juice in order to soak the bits of the wick you can see and make sure you get all of the “windows”.
Step 3: Assemble and Fill Up the Tank
After the first stage of the priming is complete, you can now screw your new coil into the base of the tank (if you have not already), and put the rest of the tank together. Now, you will need to fill your tank with e-liquid. The amount will depend entirely on your tank. But new and modern tanks have a top-filling system that will require you to unscrew the top cap of the tank before filling up with e-liquid.
However, you should always avoid the central tube, as this leads straight down to your coil. You are advised to always fill the tank to the level recommended by the manufacturer. And re-attach the top cap as well.
Step 4: Take Some Dry Pulls
A “dry pull” is referred to when the mouthpiece is inhaled without pressing the fire button. A dry pull sucks the e-liquid into the atomizer head through the wicking ports. And this is actually useful for priming.
You will need to cover the airflow holes that are in your tank with your fingers and take between 3 and 5 dry pulls. However, you need to be careful not to suck too hard as this could flood the coil as well. We recommend you to only inhale at a comfortable speed a few times, and then you are good to go!
Step 5: Patience
Leaving the full tank for about five minutes or so a good precaution to take. This will allow the e-liquid from the tank to soak into the wicks naturally. Thus, after waiting for 5 minutes, you can now proceed to the sixth step:
Step 6: Start on a Lower Wattage
Taking things gently with your vaping device reduces the risk of getting a dry hit and even ruining your coil. For instance, if you usually vape at 40 W, you are advised to reduce your power setting to 20 W and then take a few puffs. Reducing the power setting is a final precaution to make sure everything is properly primed before you start vaping again. After this, you can now slowly increase your power setting until you reach your usual level.
You can now keep vaping as normal, as you have successfully primed your coil.